Welcome to my comprehensive guide on Windows 10 Disk Management. In this article, I will provide you with all the information you need to optimize your system’s storage operations. Whether you’re setting up new drives, troubleshooting issues, or performing advanced tasks, Disk Management is a powerful utility that can help you achieve your goals.
With Disk Management, you can efficiently manage your Windows 10 system storage. It allows you to perform tasks such as extending volumes, shrinking partitions, and changing drive letters. This utility provides a comprehensive overview of all your drives and partitions, including important ones like the EFI System Partition and the Recovery Partition.
Throughout this guide, I will walk you through each section step by step, providing detailed instructions and tips for accessing Disk Management, navigating the interface, troubleshooting hard drives, and performing advanced functions. By the end of this guide, you’ll have a solid understanding of how to make the most out of Windows 10 Disk Management and optimize your system storage.
So, let’s get started and dive into the world of Windows 10 Disk Management! Together, we’ll optimize your system and ensure it operates at its best.
How to Access Disk Management in Windows 10
When it comes to managing your system storage in Windows 10, the Disk Management utility is an essential tool. Whether you need to set up new drives, extend volumes, or change drive letters, accessing Disk Management is the first step. Here are a few different methods to access Disk Management in Windows 10:
- Control Panel: Open the Control Panel and navigate to System and Security. From there, you can access Windows Tools or Administrative Tools, where you’ll find the Disk Management option.
- Computer Management: Another way to access Disk Management is through the Computer Management utility. Simply open the Command Prompt and execute the command “diskmgmt.msc” to launch the interface.
- Create a Shortcut: For quick and easy access, you can create a shortcut to Disk Management on your desktop. Right-click on your desktop, select “New,” and then choose “Shortcut.” In the location field, enter “diskmgmt.msc” and click “Finish” to create the shortcut.
By using any of these methods, you can quickly access Disk Management and start optimizing your system storage.
Navigating the Disk Management Interface
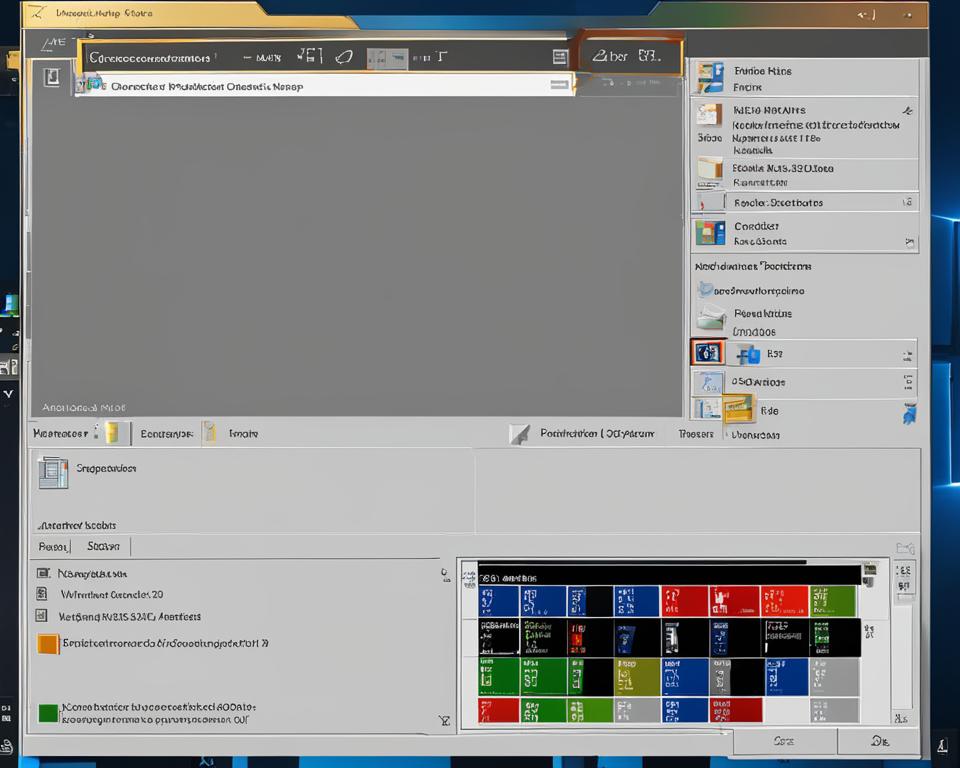
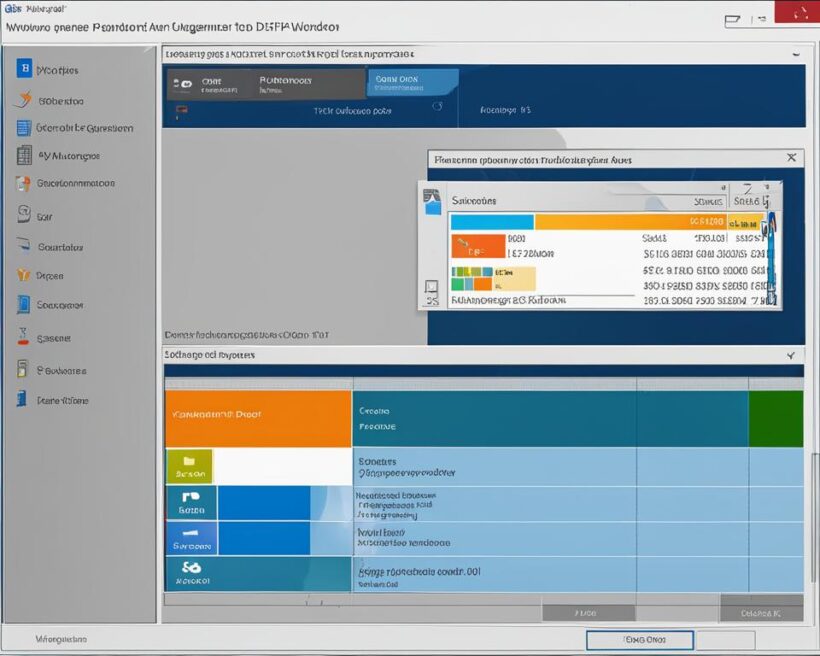
Once you’ve accessed Disk Management, it’s important to familiarize yourself with the interface in order to effectively manage your drives and partitions. The Disk Management interface consists of two halves: the top half provides an overview of your volumes, while the bottom half displays partitions and disk health information.
When working with volumes, you can right-click on them to format, change drive letters, and view advanced properties. On the other hand, right-clicking on disks allows you to create new volumes, convert disk types, and access advanced properties. It’s crucial to understand the difference between partitions and volumes – partitions are allocated spaces on a disk, while volumes are formatted partitions ready for use.
The Disk Management interface is highly customizable, allowing you to change the layout and appearance of disk regions to suit your preferences. By exploring the various options and features within the interface, you’ll be able to effectively manage your system storage in Windows 10.
| Key Features | Description |
|---|---|
| Control Panel | Access Disk Management through the Control Panel, navigating to System and Security, and then Windows Tools or Administrative Tools. |
| Computer Management | Launch Disk Management utility by opening the Command Prompt and executing the command “diskmgmt.msc”. |
| Create a Shortcut | Quickly access Disk Management by creating a shortcut on your desktop using the “diskmgmt.msc” location. |
Troubleshooting Hard Drives in Disk Management
While Disk Management provides powerful tools for managing your system storage, you may encounter issues with your hard drives from time to time. Common problems include drives not being recognized, unable to access specific volumes, or intermittent connections.
Fortunately, Disk Management offers troubleshooting options to resolve these issues. You can initialize disks that are not initialized, bring offline disks back online, and format unallocated partitions to create new volumes. However, it’s important to exercise caution when performing advanced functions, as improper execution can lead to further issues with your hard drive.
Before making any changes, it’s always recommended to back up your data to ensure its safety. By following these troubleshooting steps, you can effectively resolve hard drive issues and optimize your system storage with Disk Management.
Navigating the Disk Management Interface
When using Disk Management in Windows 10, it is essential to understand the layout and functionality of the interface. The Disk Management interface is divided into two halves, providing users with a comprehensive overview of their system’s disk configuration. The top half displays volumes, while the bottom half showcases partitions and disk health information.
Within the Disk Management interface, users can perform various actions by right-clicking on volumes and partitions. When right-clicking on volumes, options such as formatting, changing drive letters, and viewing advanced properties are available. On the other hand, right-clicking on disks allows users to create new volumes, convert disks, and access advanced properties.
It is crucial to differentiate between partitions and volumes when working with Disk Management. Partitions are allocated spaces on a disk, while volumes refer to partitions that have been formatted and are ready for use. Understanding this distinction is essential when managing disk regions and optimizing storage operations.
Customizing the Disk Management Interface
The Disk Management interface is highly customizable, allowing users to change the layout and appearance of disk regions. By right-clicking on the columns and selecting “More,” users can add or remove specific information displayed in the interface. Furthermore, users can resize, move, or hide columns to tailor the interface to their preferences.

By familiarizing themselves with the Disk Management interface and its capabilities, users can efficiently navigate through partitions, volumes, and disk regions. This knowledge empowers them to optimize their system’s storage operations and ensure efficient use of disk space.
Troubleshooting Hard Drives in Disk Management
When using Disk Management in Windows 10, you may encounter various issues with your hard drives. It’s essential to understand how to troubleshoot these problems to ensure the smooth operation of your system. Here, I will guide you through some common disk management issues and provide solutions to help you resolve them.
Problem: Hard drive not recognized
If your hard drive is not being recognized in Disk Management, there are a few troubleshooting steps to follow. First, make sure the drive is properly connected to your computer. Check the cables and ports for any damage or loose connections. If everything appears to be in order, try initializing the disk. Right-click on the disk in Disk Management and select “Initialize Disk.” Follow the prompts to complete the initialization process. Once initialized, the drive should be recognized by Windows.
Problem: Unable to access a specific volume
If you’re unable to access a specific volume in Disk Management, there may be an issue with the file system or drive letter assignment. Right-click on the volume and select “Change Drive Letter and Paths.” Choose a new drive letter or click “Remove” to remove the drive letter assignment. Then, assign a new drive letter to the volume. If the issue persists, try running the “chkdsk” command in the Command Prompt to check for and fix any file system errors on the volume.
Problem: Intermittent drive connections
If you’re experiencing intermittent connections with your hard drives, it could be due to loose or faulty cables. Check the cables and connections to ensure they are secure. If the problem persists, try connecting the drive to a different port on your computer or using a different cable. In some cases, the issue may be with the drive itself, and you may need to replace it if all other troubleshooting steps fail.
Remember, when troubleshooting hard drives in Disk Management, it’s crucial to back up your data before making any changes to avoid data loss. If you’re unsure about performing advanced functions or encountering persistent issues, it’s recommended to seek professional assistance to avoid any potential damage to your hard drives.

Advanced Functions and Additional Disk Management Tasks
When it comes to managing your system storage in Windows 10, Disk Management offers a range of advanced functions that can help you optimize your drives and improve overall performance. In addition to basic tasks like setting up new drives and troubleshooting issues, Disk Management provides tools for freeing up disk space, defragmenting drives, and managing multiple hard drives through storage spaces.
Freeing Up Disk Space
One of the key features of Disk Management is the ability to free up disk space on your system. This can be especially useful if you’re running low on storage and need to make room for new files or applications. Disk Management allows you to easily identify large files or folders that are taking up unnecessary space and delete them to free up valuable storage.
Defragmenting Drives
Over time, files on your hard drive can become fragmented, meaning they are stored in non-contiguous sectors. This fragmentation can cause slower read and write speeds, impacting overall system performance. Disk Management offers a built-in defragmentation tool that allows you to reorganize files on your drives, reducing fragmentation and improving data access speeds.
Managing Storage Spaces
If you have multiple hard drives on your system, Disk Management provides a convenient way to manage and utilize them through storage spaces. Storage spaces allow you to pool together multiple drives into a single virtual drive, providing increased storage capacity and data redundancy. You can easily create storage spaces, add or remove drives, and configure settings to meet your specific storage needs.
| Task | Description |
|---|---|
| Freeing up disk space | Identify and delete large unnecessary files or folders to free up storage |
| Defragmenting drives | Reorganize files on your drives to reduce fragmentation and improve performance |
| Managing storage spaces | Create virtual drives by pooling multiple physical drives together for increased storage capacity and redundancy |
By utilizing these advanced functions in Disk Management, you can take full control of your system storage and ensure optimal performance. Whether you need to free up disk space, defragment drives, or manage multiple hard drives, Disk Management provides the tools and features you need to efficiently manage your storage. Remember to consult specific guides or resources for each task to ensure proper execution.

Conclusion
After exploring the ins and outs of Windows 10 Disk Management, it is clear that this utility provides a comprehensive solution for optimizing system storage. Whether you need to set up new drives, troubleshoot issues, or perform advanced functions, Disk Management has you covered.
By following this guide, you can confidently navigate the Disk Management interface, understand the difference between partitions and volumes, and troubleshoot any hard drive issues that may arise. Additionally, you’ll be able to take advantage of advanced tasks such as freeing up disk space, defragmenting drives, and managing multiple hard drives.
With its user-friendly interface and powerful features, Disk Management is a crucial tool for ensuring your system operates at its best. So, take the time to familiarize yourself with its capabilities and make the most out of your Windows 10 experience.
FAQ
How do I access Disk Management in Windows 10?
There are several ways to access Disk Management in Windows 10. One method is to open Control Panel, go to System and Security, and then navigate to Windows Tools or Administrative Tools to find the Disk Management option. Another way is to open the Computer Management utility through the Command Prompt by executing the command “diskmgmt.msc”. Additionally, users can create a shortcut to Disk Management on their desktop for quick access.
What does the Disk Management interface display?
The Disk Management interface consists of two halves – the top half shows an overview of volumes, while the bottom half displays partitions and disk health information.
What is the difference between partitions and volumes?
Partitions are allocated space on a disk, while volumes are partitions that have been formatted and are ready for use.
How can I troubleshoot issues with my hard drives in Disk Management?
Troubleshooting options include initializing disks that are not initialized, bringing offline disks back online, and formatting unallocated partitions to create new volumes. It’s important to note that performing advanced functions without proper knowledge can cause issues with the hard drive. Backing up data is always recommended before making any changes to hard drives.
What are some advanced functions and additional tasks that can be performed in Disk Management?
Advanced functions include freeing up disk space, optimizing drives through defragmentation, and managing multiple hard drives through storage spaces. Users can also create a recovery drive, set up system restore points, and locate their BitLocker recovery key.
How can I optimize my system storage using Disk Management?
Windows 10 Disk Management provides the necessary tools for optimizing system storage. By following this comprehensive guide and utilizing the various features and functions available in Disk Management, users can effectively manage their system storage and ensure optimal performance.


