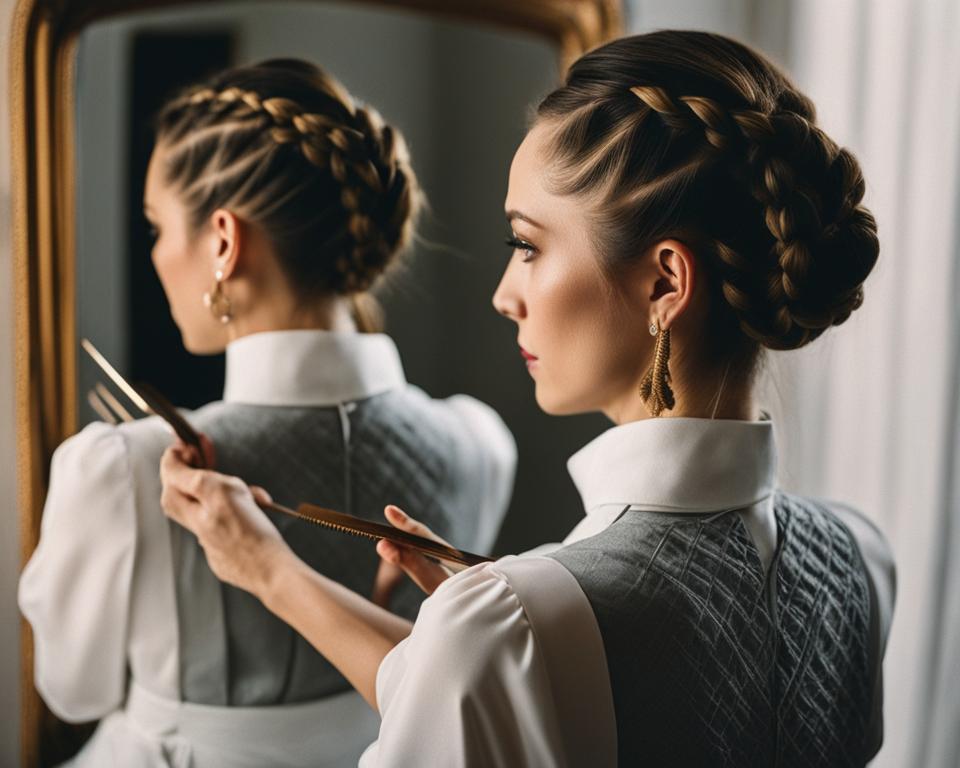
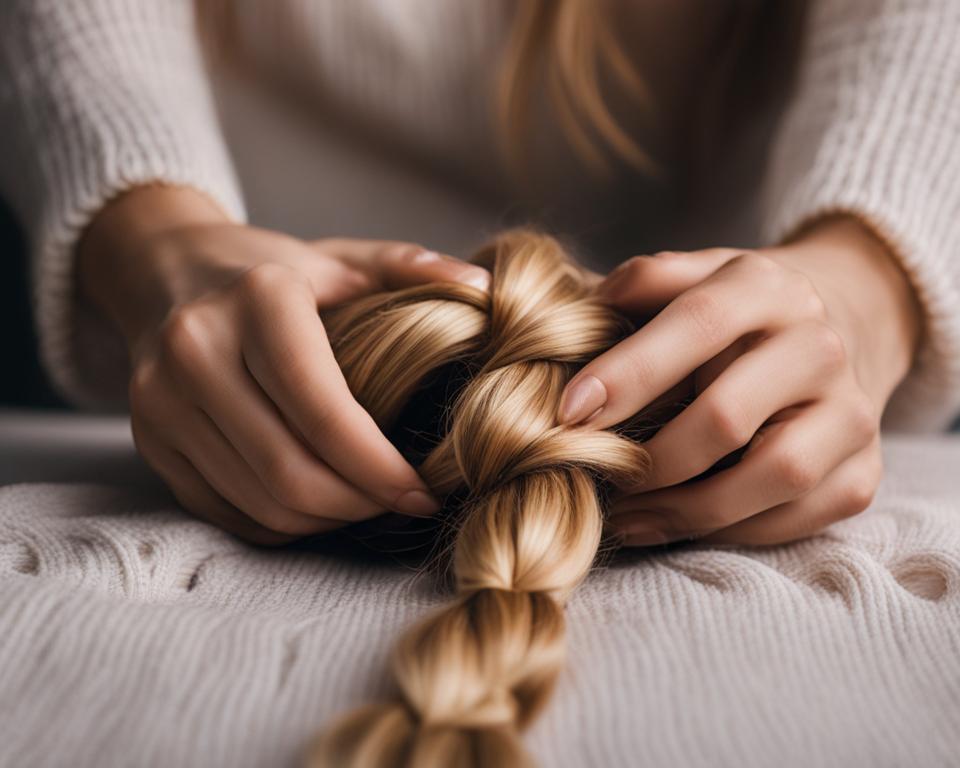
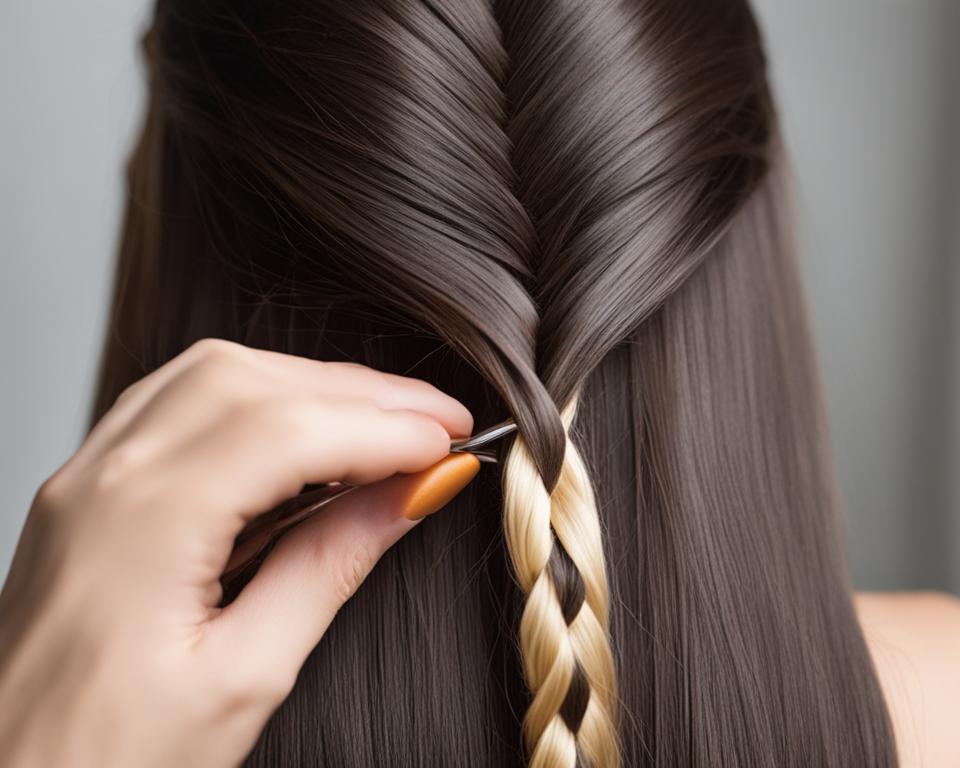
French braiding is a beautiful and versatile hairstyle that you can easily learn to do on your own. Whether you want an elegant updo or a stylish everyday look, French braiding your hair adds a touch of sophistication to any hairstyle.
In this step-by-step guide, I will show you how to create a flawless French braid on your own hair. With a little practice and the right technique, you’ll be able to achieve a professional-looking braid in no time.
So, if you’re ready to take your hairstyling skills to the next level, let’s dive into the world of French braiding and learn how to master this classic hairstyle.
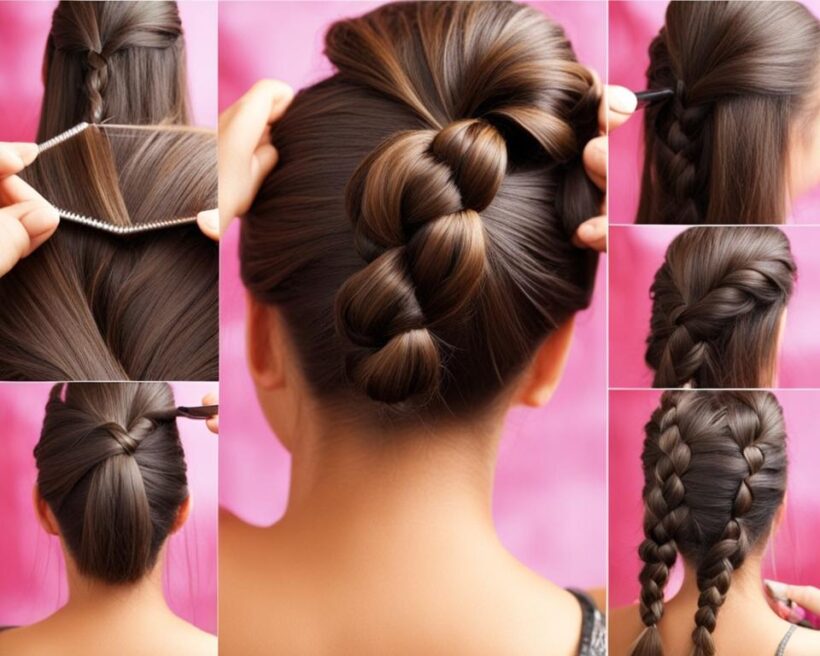
Opening image: A visual representation with a step-by-step guide of how to French braid your own hair.
Preparing Your Hair for French Braiding
Before you begin the French braiding process, it’s important to ensure that your hair is properly prepared. This step is crucial for achieving a smooth and flawless braid. Follow these hair preparation tips to make your French braid a success:
Brushing Your Hair
Start by brushing your hair thoroughly to remove any tangles or knots. This will ensure that your hair is smooth and easier to work with during the braiding process. Use a wide-toothed comb or a detangling brush to gently untangle your hair.
Wet or Dry Hair?
Decide whether to braid your hair when it’s wet or dry. Wet hair is generally easier to handle and provides a smoother finish. If you choose to braid wet hair, lightly towel dry it to remove excess moisture. On the other hand, if you prefer braiding dry hair, use a water spray bottle to dampen your hair slightly. This will help reduce frizz and make it more manageable.
Styling Products and Leave-In Conditioner
You can enhance the manageability of your hair and protect it from heat or damage by using leave-in conditioner or styling products. Apply a small amount of leave-in conditioner or a styling product of your choice to your hair before braiding. This will help smooth out any frizz or flyaways and make it easier to manipulate your hair into the desired braid style.
By adequately preparing your hair, you’ll set a solid foundation for a flawless French braid. Now that your hair is ready, we can move on to the next step – sectioning and dividing your hair for the braid.
| Benefits of Preparing Your Hair | Preparation Steps |
|---|---|
|
|
Sectioning and Dividing Your Hair
When it comes to French braiding your hair, proper sectioning and dividing are key for achieving a flawless and stunning braid. Begin by gathering a section of hair from the top-center of your head. This section will serve as the starting point for your braid.
Remember, the size of this section will determine the thickness of your braid. If you prefer a thicker braid, gather a larger section of hair. For a more delicate and intricate look, opt for a smaller section. The choice is yours, based on your desired outcome and personal style.
If you have bangs, you can incorporate them into the braid or leave them loose for a softer and more relaxed vibe. To include the bangs, simply gather them as part of the sectioned hair. If you prefer to keep them separate, you can use clips or bobby pins to hold them back while you work on the braid.
Incorporating the bangs into the braid adds a chic and fashionable touch. It’s a great option for those looking to keep their hair off their face while still showcasing their fringe.
Now that we have our hair sectioned and divided, we’re ready to move on to the next step: creating the French braid. Stay tuned for Section 4, where I’ll walk you through the process of crafting a flawless French braid from start to finish.
Creating the French Braid
With the hair sectioned and divided, it’s time to embark on the art of creating a beautiful French braid. This elegant hairstyle involves crossing the right strand over the middle, followed by the left strand over the middle, while incorporating new sections of hair from the sides with each cross.
Begin by holding the right strand in your right hand and the left strand in your left hand, leaving the middle strand untouched. Cross the right strand over the middle, then cross the left strand over the middle, making sure to pull the braid tight after each cross to maintain a neat and secure braid.
As you continue the braid, combine additional sections of hair from the sides with each cross. This step is crucial in achieving the signature French braid look. Take a small section of hair from the right side and incorporate it into the right strand, then cross it over the middle. Repeat this process on the left side, taking a small section of hair, incorporating it into the left strand, and crossing it over the middle. Remember to tighten the braid slightly after each cross for a polished appearance.
To keep the braid uniform and consistent, it’s important to maintain a steady pattern. As you incorporate new sections of hair, make sure they are of similar thickness to the strands you started with at the beginning of the braid. This will ensure an even and balanced look throughout the braid.
Continue the braid by repeating the process of crossing the right strand over the middle, then the left strand over the middle, incorporating new sections of hair from the sides each time. As you progress, the braid will start to take shape, showcasing the intricate weaving pattern that defines the French braid.
Continue this pattern until you reach the desired length of the braid. Whether you prefer a shorter, more compact braid or a longer, cascading braid down your back, the choice is yours. Remember to keep the braid tight and secure throughout the process for a clean and polished final result.

| Tip | Description |
|---|---|
| Apply hairspray | A light mist of hairspray can help tame flyaways and add extra hold to your French braid. |
| Practice | The more you practice, the better you’ll become at creating the perfect French braid. Don’t be discouraged if it doesn’t turn out exactly as you imagined on your first attempt. |
| Experiment with variations | Once you’ve mastered the basic French braid, try incorporating different variations and styles. You can experiment with different partings, braiding techniques, or even add accessories for a unique look. |
Continuing the French Braid
As you continue braiding, make sure to add small sections of hair from the sides to the braid each time you cross over. This ensures that the braid remains tight and secure, giving you a polished look. Whether you choose to braid all the way down to the ends of your hair or stop at a certain point, it will depend on the desired outcome you want to achieve.
To create a beautifully flowing French braid, follow these steps:
- Take a small section of hair from the right side and cross it over the middle section.
- Now, take a small section of hair from the left side and cross it over the middle section.
- Continue this pattern, incorporating small sections of hair from the sides each time you cross over, and repeat until you reach the desired length.
Remember, the key is to keep the braid tight and secure by consistently adding sections of hair as you go along. This will give you a neat and well-defined French braid.

Finishing the French Braid
Once you’ve reached the desired length, it’s time to finish your French braid and complete the elegant hairstyle. To ensure your braid stays in place throughout the day, follow these simple steps:
- Braid the remaining hair down to the ends, incorporating all the loose strands into the braid.
- Gently tug on the sides of the braid to create a fuller and more voluminous look.
- Secure the end of the braid with a ponytail holder or elastic band. Make sure it is tight enough to hold the braid securely in place.
- For a polished and sleek look, smooth down any flyaways with a small amount of hairspray or styling product.
Remember, the finishing touches are what make your French braid stand out. Whether it’s using a stylish hair accessory or embellishing your braid with delicate flowers, feel free to get creative and personalize your hairstyle.
To give you a visual representation, here’s an image of a finished French braid:

Now that you’ve completed your French braid, you can confidently showcase your elegant hairstyle. With a little practice, you’ll be able to perfect this timeless look and rock it for various occasions.
Styling Tips and Variations
French braids offer numerous styling options and variations. You can experiment with different braid sizes, positions, and accessories to achieve different looks. Additionally, you can leave the braid as is or incorporate it into other hairstyles such as updos or half-up, half-down styles.
Experiment with Braid Sizes
One way to add variety to your French braid is by playing with the size of the braid itself. For a delicate and intricate look, try creating a smaller, more tightly woven braid. This can be achieved by taking smaller sections of hair as you braid, resulting in a more intricate pattern. On the other hand, if you prefer a bolder and more voluminous look, opt for a larger braid by taking larger sections of hair. This will create a more dramatic and eye-catching hairstyle.
Explore Different Braid Positions
Another way to change up your French braid is by experimenting with different braid positions. While the traditional French braid starts at the top-center of the head, you can create variations by starting the braid on one side or at the nape of the neck. This will give your hairstyle a unique and unexpected twist. You can also try creating multiple French braids starting from different sections of your hair for a more intricate and bohemian look.
Add Accessories for a Personalized Touch
To elevate your French braid hairstyle, consider adding accessories that complement your look. You can incorporate ribbons, headbands, or hairpins into your braid to add a touch of elegance or playfulness. These accessories can help you achieve a more polished or whimsical style, depending on your preference. Experiment with different accessories to find the ones that best express your personal style.
Remember, the key to achieving different looks with your French braid is to have fun and embrace experimentation. Don’t be afraid to try out new styles and techniques to discover the ones that make you feel confident and beautiful.
Conclusion
French braiding your own hair may seem challenging at first, but with practice and determination, you can master this elegant hairstyle. By following the step-by-step instructions and experimenting with different techniques, you’ll discover the style that suits you best. With time, you’ll gain the confidence to French braid your own hair and enjoy the beautiful results.
Remember to prepare your hair properly by brushing out any tangles and deciding whether to braid it wet or dry. Section and divide your hair to create the foundation for the French braid, and then proceed to create the braid by crossing over sections of hair from the sides while keeping it tight and secure.
Continue adding small sections of hair as you braid, and once you’ve reached your desired length, finish the braid by securing it with a ponytail holder or elastic band. To add the finishing touches, use hairspray or styling products to tame flyaways and add a touch of shine.
French braids offer endless styling possibilities, so don’t be afraid to experiment with different braid sizes, positions, and accessories. You can incorporate the braid into various hairstyles, such as updos or half-up, half-down styles, for a versatile and chic look.
FAQ
How do I prepare my hair for French braiding?
To prepare your hair for French braiding, brush it to remove any tangles or knots. Decide whether to braid your hair wet or dry and use leave-in conditioner or styling products for manageability and protection.
How do I section and divide my hair for French braiding?
Section and divide your hair by gathering a portion from the top-center of your head. Separate it into three equal sections. The size of this section will determine the thickness of your braid.
How do I create the French braid?
To create the French braid, cross the right strand over the middle, then the left strand over the middle. Incorporate new sections of hair from the sides each time and maintain a consistent pattern while keeping the braid tight and secure.
How do I continue the French braid?
Continue the French braid by adding small sections of hair from the sides each time you cross over. This ensures a tight and secure braid. You can braid down to the ends or stop at a desired length.
How do I finish the French braid?
Finish the French braid by braiding the remaining hair down to the ends. Secure the braid with a ponytail holder or elastic band and use hairspray or styling products for flyaway control and shine.
What styling tips and variations can I try with French braids?
French braids offer numerous styling options. You can experiment with different braid sizes, positions, and accessories. French braids can be left as is or incorporated into other hairstyles such as updos or half-up, half-down styles.
How long does it take to master French braiding your own hair?
French braiding your own hair may take some practice, but with patience and perseverance, you can become skilled at creating this timeless hairstyle. Follow the step-by-step instructions and experiment with different techniques to find the style that suits you best.


