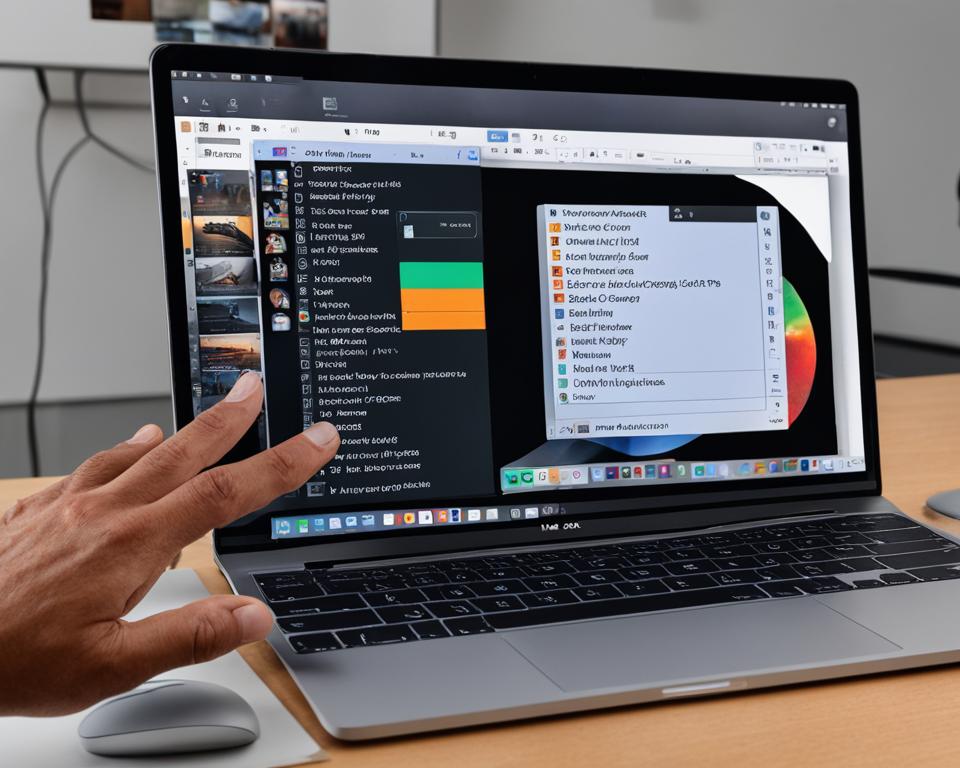
If you’re a Mac user and need to capture screenshots or record videos of your screen, you’re in luck! macOS offers built-in screenshot tools that make snipping on a Mac a breeze. In this guide, I’ll show you how to use these tools to capture and share visual content effortlessly.
To snip on a Mac, you can utilize keyboard shortcuts or the convenient screenshot toolbar. Let’s explore both methods, starting with keyboard shortcuts.
The quickest and easiest way to snip on a Mac is by using keyboard shortcuts, also known as hotkeys. By pressing Shift + Command + 3, you can capture a screenshot of your entire screen. To capture a specific part of the screen, press Shift + Command + 4 and use the crosshair cursor to select the desired area. Additionally, you can capture a selected window by pressing Shift + Command + 4 and then the Space bar. These keyboard shortcuts provide efficient methods for snipping on a Mac.
Using Keyboard Shortcuts for Snipping on Mac
The quickest and easiest way to snip on a Mac is by using keyboard shortcuts, also known as hotkeys. By pressing Shift + Command + 3, you can capture a screenshot of your entire screen. To capture a specific part of the screen, press Shift + Command + 4 and use the crosshair cursor to select the desired area. Additionally, you can capture a selected window by pressing Shift + Command + 4 and then the Space bar. These keyboard shortcuts provide efficient methods for snipping on a Mac.

Snipping on a Mac has never been easier with the convenience of keyboard shortcuts. Whether you need to capture the entire screen or just a selected area, these hotkeys allow for quick and precise snipping. With just a few simple keystrokes, you can capture screenshots for various purposes, such as sharing information, presenting visuals, or troubleshooting. The efficiency and effectiveness of keyboard shortcuts make them a valuable tool for snipping on a Mac.
Using the Screenshot Toolbar for Snipping on Mac
If you prefer a user-friendly interface for snipping on a Mac, the screenshot toolbar is the perfect tool for you. Instead of relying on keyboard shortcuts, the toolbar provides a convenient way to capture screenshots and record videos with just a few clicks. To access the screenshot toolbar, simply press Shift + Command + 5.
The screenshot toolbar offers a variety of options for capturing different types of snips on your Mac. You can use the toolbar to:
- Capture a specific portion of the screen.
- Select a window to capture.
- Take a screenshot of the entire screen.
To capture a specific portion of the screen, click on the corresponding icon in the screenshot toolbar. This will activate the crosshair cursor, allowing you to select the desired area to snip. Once you’ve made your selection, simply release the mouse button to capture the snip. It’s that easy!
The screenshot toolbar also allows you to record videos of your screen. By clicking on the video icon in the toolbar, you can start recording your screen and create informative video snippets. Whether you need to demonstrate software functionality or provide a tutorial, the screenshot toolbar’s video recording feature has got you covered.
But the screenshot toolbar doesn’t stop there. It offers additional customization options to enhance your snipping experience. By clicking on the Options menu in the toolbar, you can choose to show the cursor in your screenshots or set a timer before capturing. These settings can be adjusted to suit your specific needs and preferences.
Snip on Mac using the screenshot toolbar:
| Toolbar Feature | Shortcut |
|---|---|
| Capture a specific portion of the screen | Click on the corresponding icon in the toolbar |
| Select a window to capture | Click on the corresponding icon in the toolbar |
| Take a screenshot of the entire screen | Click on the corresponding icon in the toolbar |
| Record a video of your screen | Click on the video icon in the toolbar |
Customizing Snipping Settings and Save Location on Mac
When it comes to snipping on a Mac, customization options allow you to tailor the snipping tool to suit your specific needs. One of the key advantages of the built-in screenshot tools offered by macOS is the ability to access custom settings. By customizing the snipping tool, you can enhance your snipping experience and capture screenshots exactly as you require.
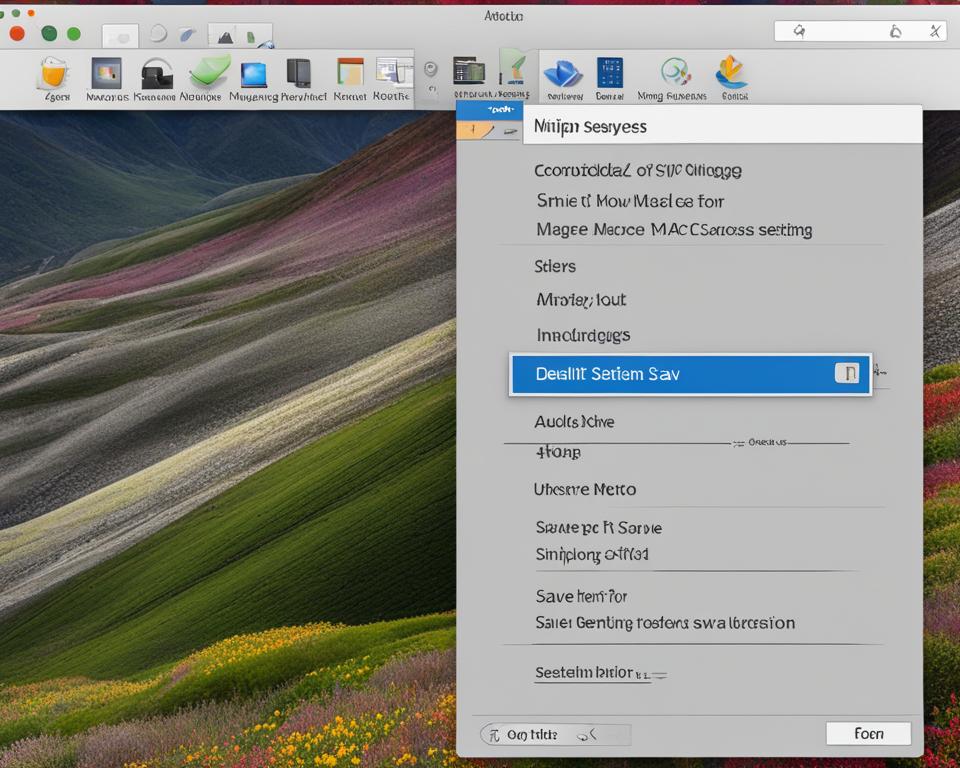
To access the custom settings, simply open the screenshot toolbar by pressing Shift + Command + 5 on your keyboard. Once the toolbar appears, you will find various options for customizing your snipping settings.
Customizing Snipping Tool Settings
Within the screenshot toolbar, you can customize several important settings to refine your snipping process. These settings include:
- Show Cursor: This setting allows you to choose whether or not to include the cursor in your screenshots. By enabling this option, you can highlight certain elements or actions by including the cursor in your snips. Alternatively, you can disable this option to focus solely on the content you wish to capture.
- Timer: The timer setting gives you the ability to introduce a delay before the screenshot is taken. This can be especially useful when you need to capture menus, tooltips, or other transient elements that appear for a limited period of time. By setting a timer, you gain more control over the precise moment when the snip is captured.
By fine-tuning these settings, you can streamline your snipping process and capture screenshots more efficiently.
Changing the Save Location for Snipped Screenshots
In addition to customizing the snipping tool settings, you have the flexibility to change the default save location for your snipped screenshots. By default, screenshots are saved to the desktop, but you can easily change this location according to your preferences.
Pro Tip: Changing the save location for snipped screenshots allows you to keep your desktop clutter-free and neatly organize your snips.
To change the save location, follow these simple steps:
- Open the screenshot toolbar by pressing Shift + Command + 5.
- Click on the “Options” button on the toolbar.
- In the “Save to” section, select your preferred location from the dropdown menu. You can choose from options such as the desktop, documents, clipboard, or even a custom location that you specify.
By changing the save location, you gain control over where your snipped screenshots are stored, making it easier to locate them later and maintain an organized workflow.

Customizing your snipping settings and changing the save location for snipped screenshots on Mac allows you to optimize your snipping experience and streamline your workflow. By tailoring the snipping tool to your specific needs, you can capture screenshots more effectively and efficiently.
| Benefits of Customizing Snipping Settings and Save Location on Mac |
|---|
| Enhanced control over the snipping process |
| Highlight specific elements with the cursor |
| Capture transient elements with the timer |
| Organize snipped screenshots in a preferred location |
| Create a clutter-free desktop |
Snipping Videos on Mac
In addition to capturing screenshots, the snipping tool on a Mac also allows you to record videos of your screen. This feature provides a convenient way to snip videos on a Mac. To get started, you’ll need to access the screenshot toolbar and select the appropriate icons.
Pressing Shift + Command + 5 will activate the toolbar, where you can choose the record video options. From there, you can decide whether you want to record the entire screen or just a selected portion.
Once you have made your selection, the recording will begin. During the recording, you can perform any actions or demonstrations you wish to capture. When you’re finished, simply click the stop button on the toolbar to end the recording.
The recorded video will be saved to the designated location, similar to how screenshots are saved. This allows you to easily locate and access your snipped videos whenever you need them.
Snipping videos on a Mac is a valuable tool for a variety of purposes, from creating tutorials and presentations to documenting software issues or capturing memorable moments from your favorite videos.
By utilizing the snipping tool’s video recording capabilities, you can enhance your screen capture abilities and take your Mac experience to the next level.

Note: Snipping a video on a Mac allows you to capture specific portions of your screen, whether it’s a tutorial, a software demonstration, or a memorable moment.
Conclusion
Snipping on a Mac is a simple and efficient process, thanks to the built-in screenshot tools provided by macOS. Whether you prefer using keyboard shortcuts or the screenshot toolbar, capturing screenshots and recording videos of your screen has never been easier. You have the freedom to customize your snipping experience by adjusting settings and changing the default save location, catering to your individual preferences.
For MacBook users with a Touch Bar, the convenience is further enhanced by adding the snipping tool shortcut. With just a few taps, you can swiftly snip important visuals and share them with others.
Overall, learning how to snip on a Mac empowers you to effortlessly capture and share visual content that enhances your productivity, communication, and creativity. So, start exploring the snipping capabilities of your Mac today and unlock a world of possibilities.
FAQ
How can I snip on a Mac using keyboard shortcuts?
To snip on a Mac using keyboard shortcuts, you can press Shift + Command + 3 for a full-screen screenshot, Shift + Command + 4 for a selected area screenshot, and Shift + Command + 4 + Space bar for a specific window screenshot.
How do I snip on a Mac using the screenshot toolbar?
To snip on a Mac using the screenshot toolbar, press Shift + Command + 5 to access the toolbar. From there, you can choose to capture a specific portion of the screen, a selected window, or the entire screen. You can also record videos of your screen using the toolbar.
Can I customize snipping settings and the save location on a Mac?
Yes, you can customize snipping settings and the save location on a Mac. Through the screenshot toolbar’s Options menu, you can adjust settings such as showing the cursor in screenshots and setting a timer. Additionally, you can change the default save location for screenshots to your preferred location.
How can I snip videos on a Mac?
To snip videos on a Mac, access the screenshot toolbar by pressing Shift + Command + 5. From there, choose the record video option and select either the entire screen or a specific portion. Once the recording is complete, it will be saved to the designated location.


